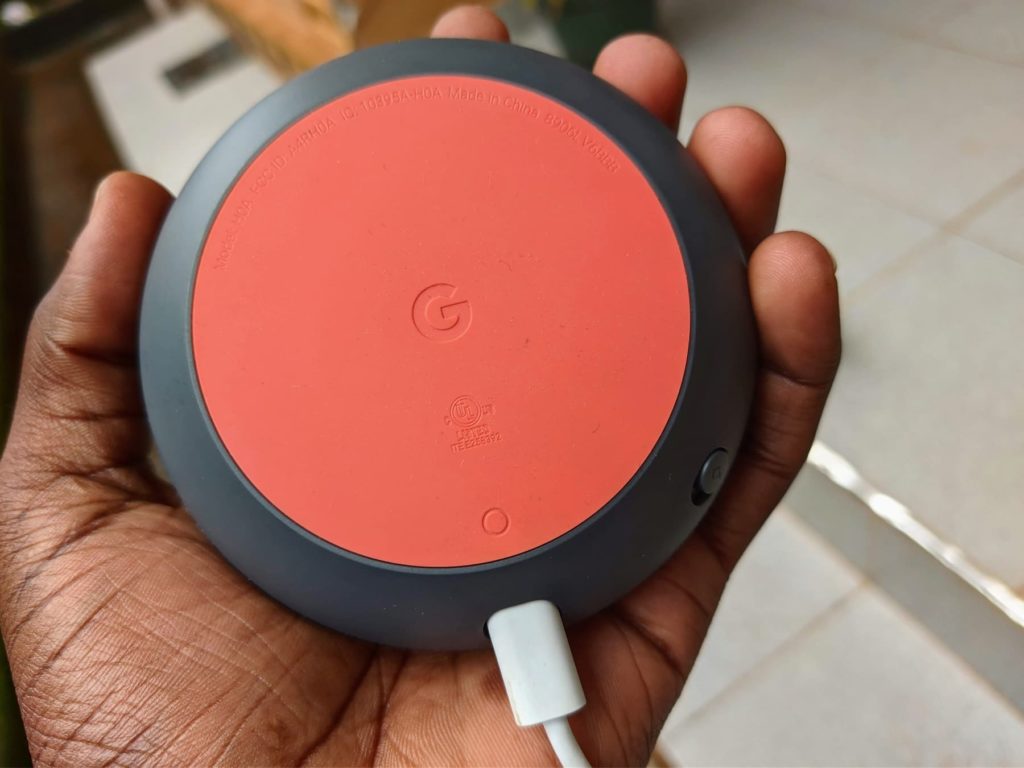
The Google Home Mini is a compact and smart voice-controlled speaker designed to control your smart home, play music, set reminders, and more – all with just your voice. I received my Google Home Mini from a friend. Said friend had only used it once and decided to upgrade to the Google Home. They simply unplugged it before handing it down to me.
I discovered that a Google Home Mini that has been abandoned by its previous owner will not adapt to a new environment right away and requires some initial configuration. The problem is that until you set it up with a new connection, the Google Home Mini will keep attempting to connect to the old WiFi network, which obviously won’t work.
Advertisement – Continue reading below
Without further delay, let us take you through a step by step guide on connecting your Google Home Mini to a new WiFi network.
Step 1: Reset Google Home Mini

Plug your Google Home Mini into a power source. While still plugged in, turn your Google Home Mini over to find the reset button. It’s a small circle located on the back of the device as shown in the image above.
Press and hold the reset button until you hear a voice prompt indicating that the device is resetting. This will clear the existing WiFi network settings and prepare your Google Home Mini for connection to a new WiFi network.
Step 2: Install or Launch the Google Home App
If not already installed, open the Play Store on your phone or tablet. Search for “Google Home” and install the app. After the installation has been finalized, tap on ‘Get started’ and sign into the Google account you want associated with your Google Home. You are going to follow the prompts including allowing nearby devices access and location to detect and connect to nearby Bluetooth devices. Your location and Bluetooth will be turned on to facilitate this process.
Step 3: Add a New Device
Before you go any further, make sure your phone or tablet is connected to the same WiFi network where you want to set up your Google Home Mini. The app will find your Google Home Mini automatically from the list of available devices. Once detected, a prompt will appear asking you to set it up. The app will then guide you through the process of connecting the device to the new Wi-Fi network. You will need to follow the prompts as you did earlier. During this step, you’ll need to confirm your WiFi network and enter the password.
Once you’re done seting up your Google Home Mini, you can also personalize it to your liking. Some of these customizations include choosing your language, privacy settings, and even enabling voice match for hands-free control.
Advertisement – Continue reading below
Changing the WiFi network of your Google Home Mini
If you want to change your WiFi password or connect to a different network, you need to make your Google Home forget your current WiFi network. Then, you can set up your Google Home Mini again with the Google Home app. Here are the steps:
- Open the Google Home app
- Tap and hold the Google Home Mini tile
- Go to Settings > Device information
- Tap on WiFi and then select ‘Forget this network’
- Go back to the Google Home app home screen and follow the steps to set up your device on a new WiFi network
